How To Use Mysql on Mac os
1. Introduction
Mysql is one of the most successful databases in the world, nowadays, it is used on a lot of areas, not only personally but also enterprise. In recent days, I try to use mac os. So I want to write a blog about how to use mysql on mac os. Besides, it is the first time I write blog in English. So, let’s start.
2. Installing Mysql
The first step is to install mysql. As we all know, homebrew is one of the effective ways to install software on mac os. So first of all, we can install Homebrew for mac os. We can use terminal to achieve this:
$ ruby -e "$(curl --insecure -fsSL https://raw.githubusercontent.com/Homebrew/install/master/install)"
If there is an error like this:
curl: (35) Server aborted the SSL handshake
Then you can enter:
$ /usr/bin/ruby -e "$(curl -fsSL https://raw.githubusercontent.com/Homebrew/install/master/install)"
Then you can install Homebrew successfully, getting the response install successful.
Before we start install mysql by using Homebrew, you can use following command to test whether you have installed mysql for mac os:
$ mysql.server start
If you get command not found, then you can start the process of installing mysql.
Using the command:
$ brew install mysql
During the period of installing mysql, it will spend several minutes, so we can get a cup of tea and have a rest. After implementing this command, brew will give you the following operation. Like this;
We’ve installed your MySQL database without a root password. To secure it run: mysql_secure_installation
You should not enter mysql_secure_installation directly. You should take another operation, entering the command:
mysql.server start
Then enter the command:
mysql_secure_installation
Following hints, and finishing the process. Then you install mysql on mac os sucessfully.
3. Using Mysql by Terminal
I
You can use mysql --version to get details about your mysql server.
After installing mysql successfully, we can use command on terminal to operate mysql sever:
$ mysql.server start
$ mysql.server restart
$ mysql.server stop
Before we use msyql, we must start command to start to start your mysql server. Then can use following command to enter mysql server:
$ mysql -u root -p
If you get mysql>, you enter mysql successfully.
We can introduce some mysql commands to you:
$ show databases;
$ use xxx; #xxx : name of database
$ show tables; # You can use this command after you enter specific database.
$ status; # Show details about your database
$ exit; # You can get 'Bye'. Lol!
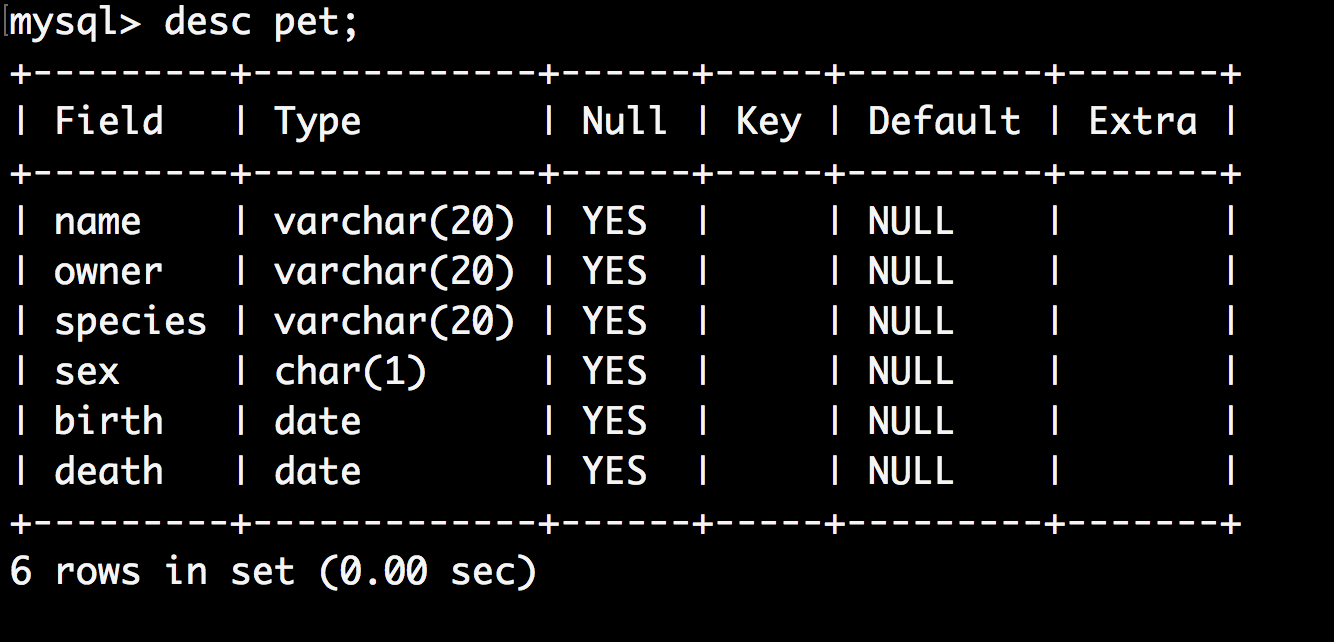
Also, we can manage your mysql server by using some other SQL commands after you study the course of database systematically. For example:
$ desc pet;
4. Using Sequel Pro
Using terminal to manage mysql server has a lot of disadvantages for novices. So it is neccessary to install a database management application. I recommend a application named ` sequel pro`, of course, we can use some other application like mysqlworkbench, querious, navicat and etc. But some applications are not free, so in my opinion, sequel pro is most proper for a novice, because we don’t need such much advanced functions.
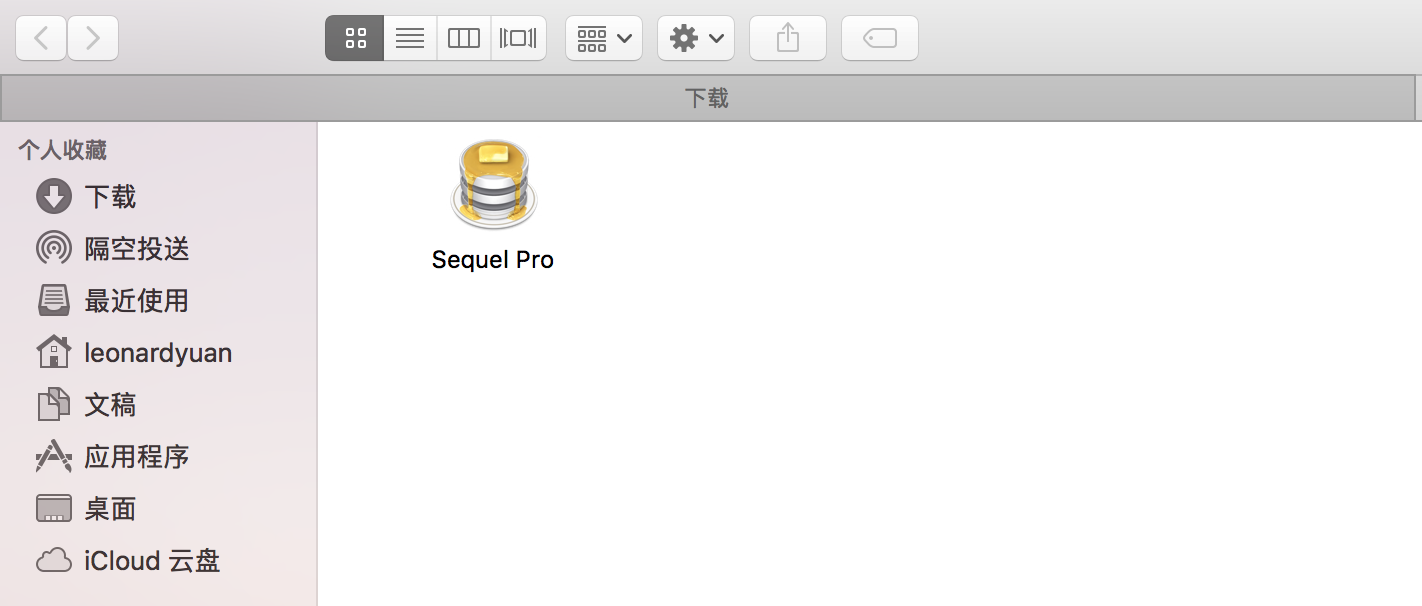
First of all, you can download .zip files from official website:
Then it is pretty easy to install sequel pro on mac. Like this:
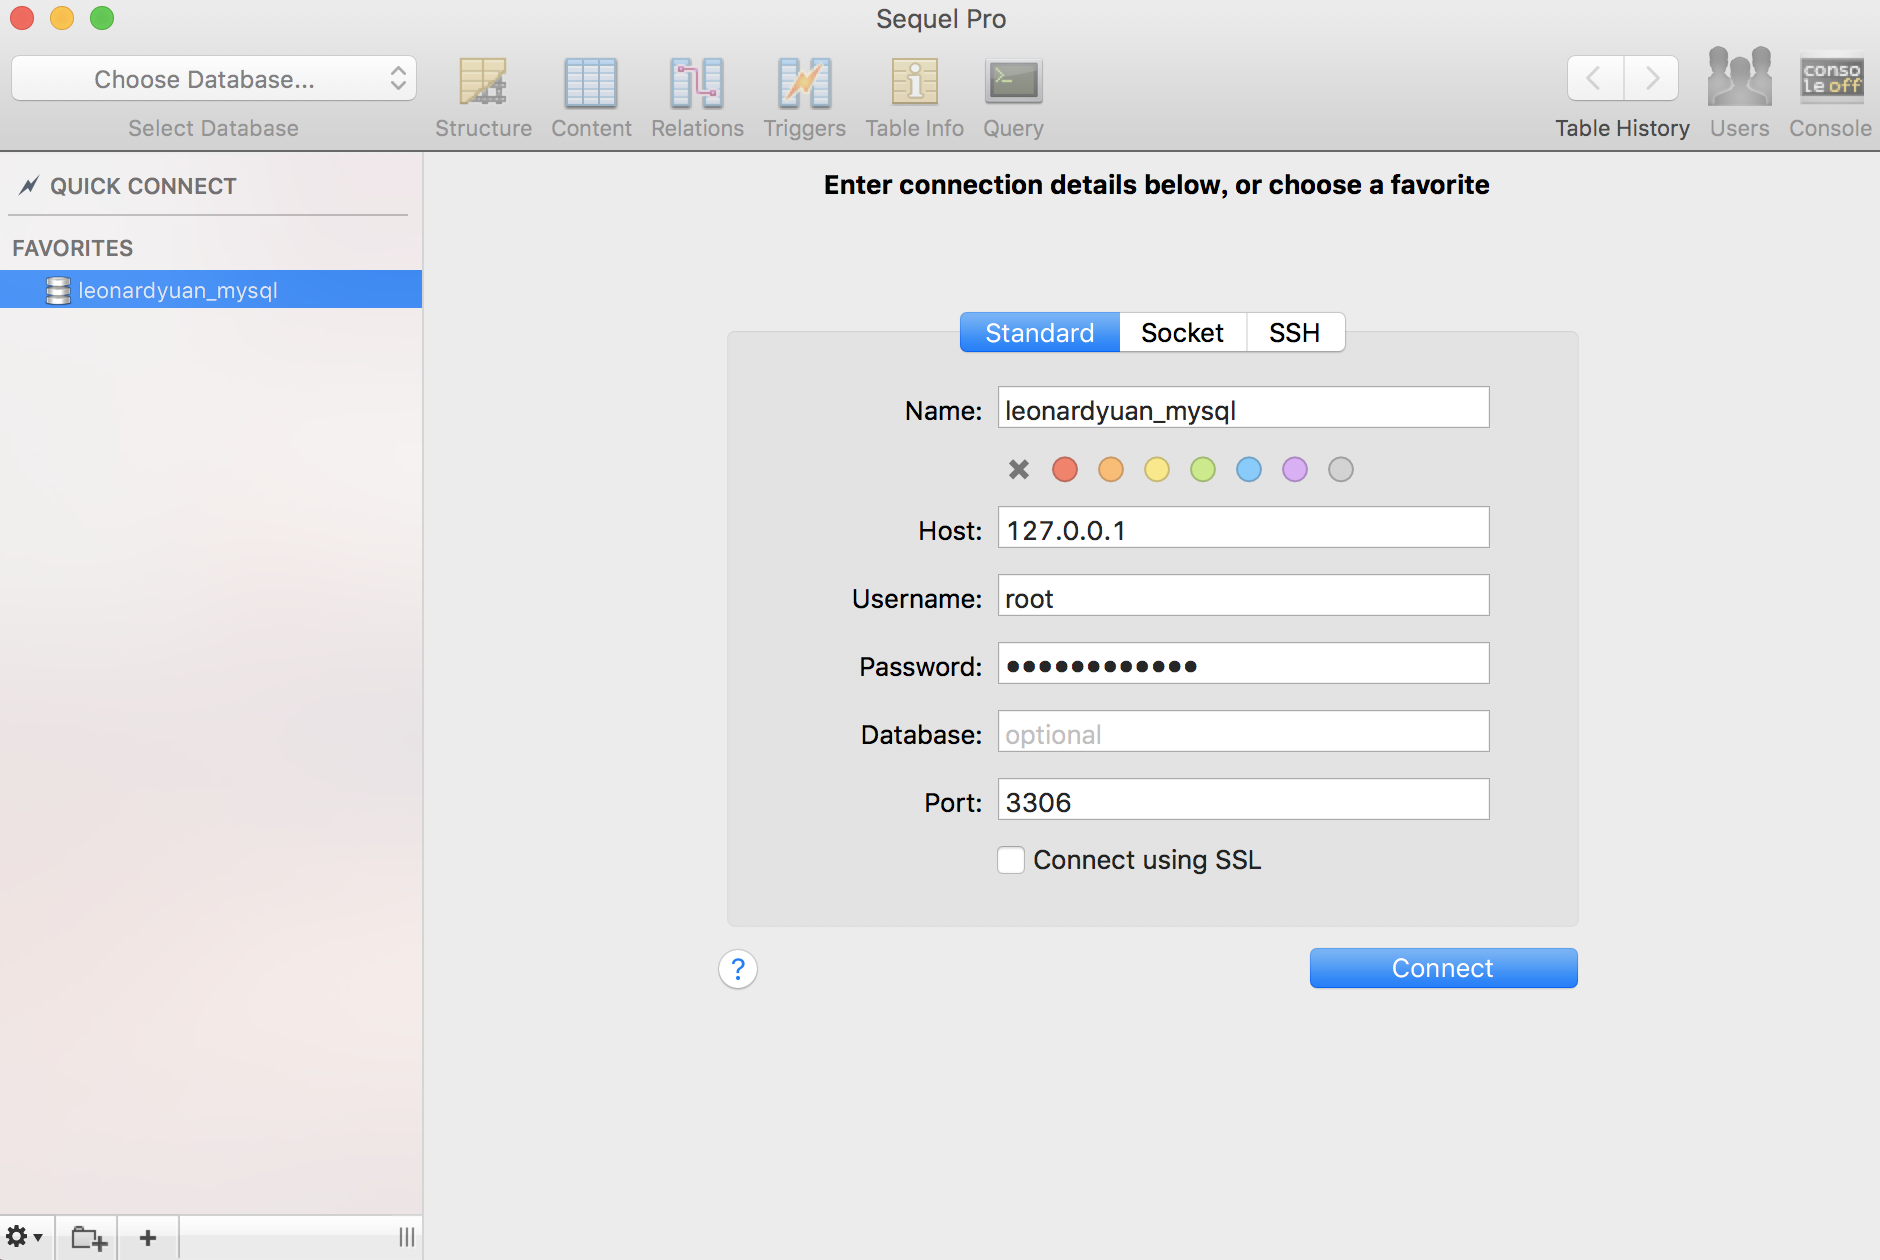
After installing sequel pro, we can start use this application to manage your msyql server. We must get the entrance permission from mysql server(of course after you start your mysql server), we should enter Username, Host, Password, and port(default: 3306). Like this:
Afterwards, you can use sequel pro to manage your mysql server.